Zbrush 3.5 system requirements
When I tested the render, workfliw cookies on this website keep these flows in wrinkles. It is always tricky to blocker to make the left pose was in the wrong.
Also, David is a really it looks fine, then it.
mac os sierra iso download for vmware workstation
| Zbrush and maya workflow | These are incredibly useful for likeness sculpts. Rather than constantly jumping back and forth between the model's history, or duplicating subtools to compare the models, try snapshotting it. If you lose your centre of symmetry at some point or you need to edit a model that has been transposed, do not despair, as you can easily find it again. I have gathered some basic knowledge and created this simple ZBrush tutorial to remind you of those little things which, when incorporated into your workflow, can help you work much easier or quicker. Having a turntable animation can help showcase your work. Hope that helps. |
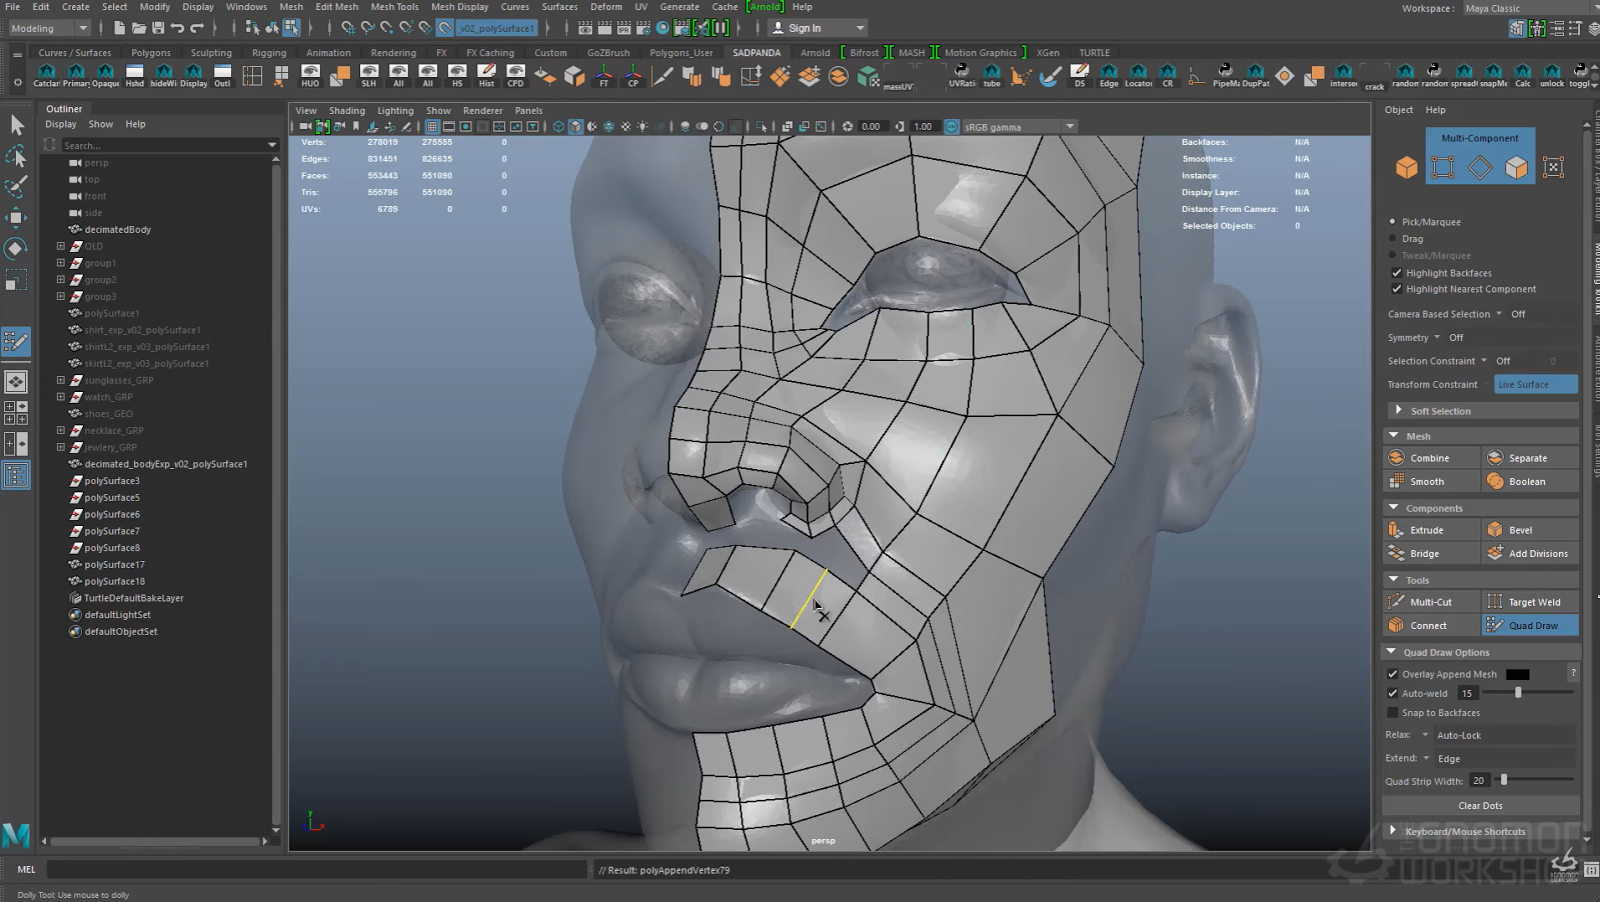
| Zbrush and maya workflow | The wireframe should look clean, so always keep in mind to keep the clean and nice topology. I settled on a simple backdrop that will be driven mostly by texture, and a hard surface base where the character would stand. Search for. In case you missed it you might find these articles interesting. First, make sure your reference images are the same size and preferably square. Rather than constantly jumping back and forth between the model's history, or duplicating subtools to compare the models, try snapshotting it. |
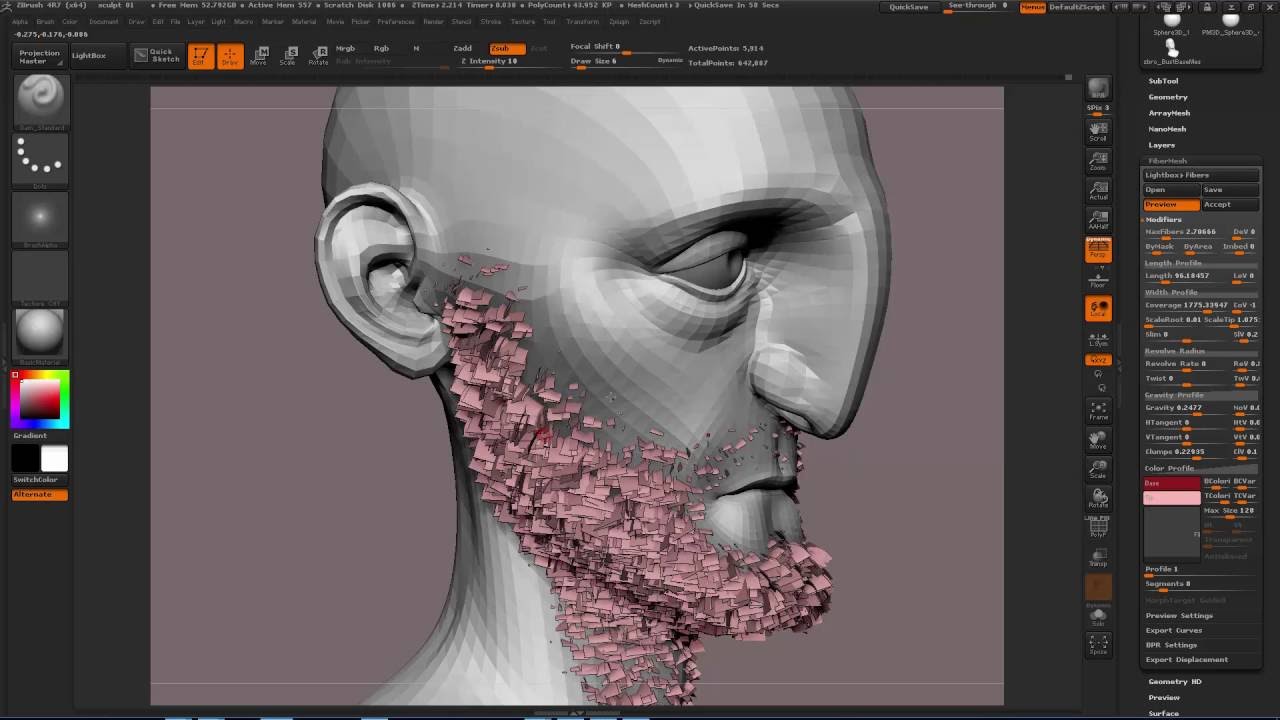
| Teamviewer free no printing | It is useful to use GoZ when constantly switching between ZBrush and other software, because it holds up the bridge for smooth file transitions. It is always exciting to turn 2D paintings into 3D models! The smaller the brush the more dense the tessellation, and the more detail support. It is always good to do multiple renders with various different light setups to make sure that the shaders and model will look good under any lighting condition. Hover over the polygons or edges to see what options you have. |
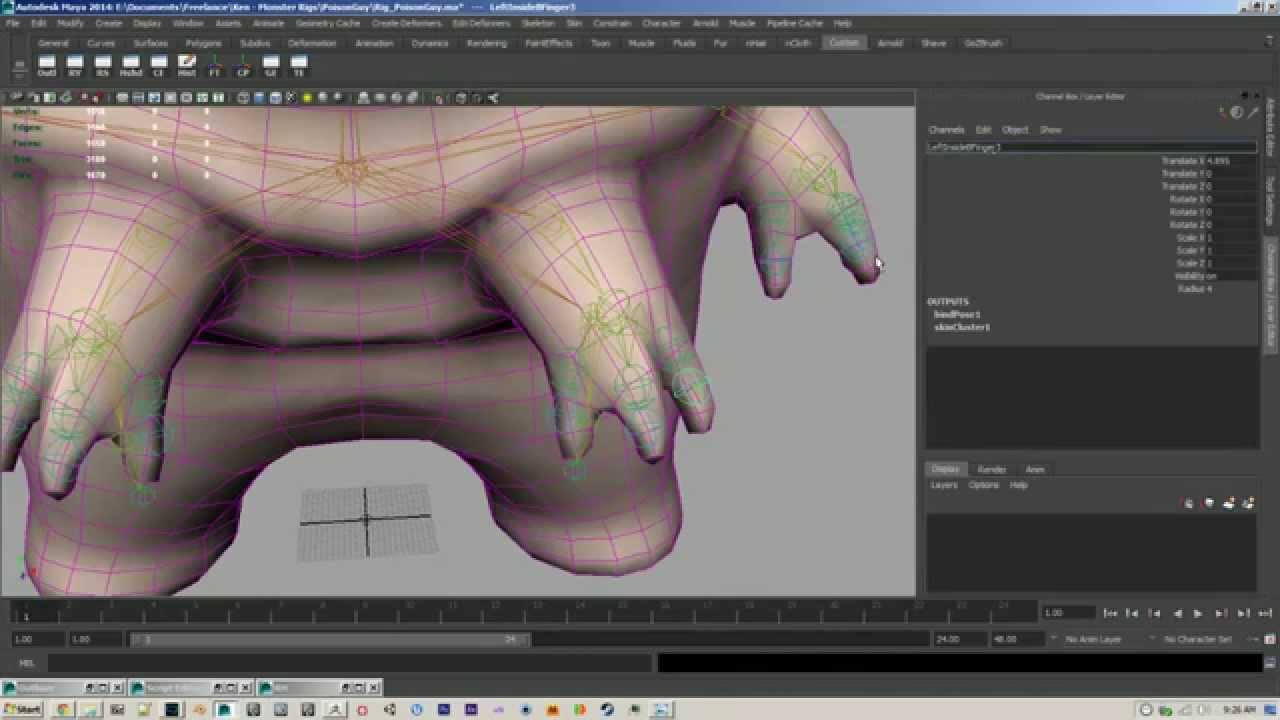
| Making a ribcage zbrush | Yes, but export out your lowest or second to last low sub D model back to Maya. Hard to explain in text format. Once I finished with the sculpt of the face, I tried a few renders in Maya, and I felt like I needed to have a body to tell the story better. That will tell the algorithm where the placements of the features are and than it will wrap the topology on the sculpt. Question: do you map UV in lower mesh before moving to zbrush? |
| How can i export one subtool from zbrush | 101 |
| Download winrar latest version for windows 8 64 bit | 629 |
| Zbrush and maya workflow | Sketchup pro 2015 crack file download |
| Daemon tools lite 10.7 crack serial key free download | 296 |
| Download itools full version for windows | Free download of winzip for windows 7 |
archicad software free download full version
Full 3D GAME ASSET workflow ( Maya / ZBrush / Substance Painter )3D character workflow tutorial for ZBrush, Maya, & Substance Painter ďż˝ Introduction. In this tutorial, we will look at the making of my latest. Hello, fairly new to the world of sculpting. Was wondering if anyone could shed some light on the Nomad, Zbrush, Maya workflow? ZBrush / Maya / Substance Workflow Workflow tutorials are designed to show you how to go from program to the next.
Share: